The "Quick export" feature is designed to move easily data from a DBMS to another.
In case you need to integrate several remote Data Sources, joining them into a target table, you should skip to data integration section.
This functionality allows to you move, from a DBMS to another, any table or view or the result of any query, stored procedure, table function, etc., possibly modified by arbitrary transformations.
In general, you can move any Data Source (where the concept of Data Source will be clearer after you read the data Source creation topic). Let's see the simplest case: more complex case can be easily inferred. Open the Database Explorer and:
1. Select any table and click on Query current
or
2. Open the "SQL scrapbook", paste any query of yours and click on Try Query,
the data previewer will show you a preview of the data. To export the data to a DBMS, click on Quick Export. The export dialog will appear. There are three main options:
1. Export to another DBMS
2. Export to a text file
3. Export to an Excel spreadsheet
Let's choose the first one. The Database export dialog will appear.
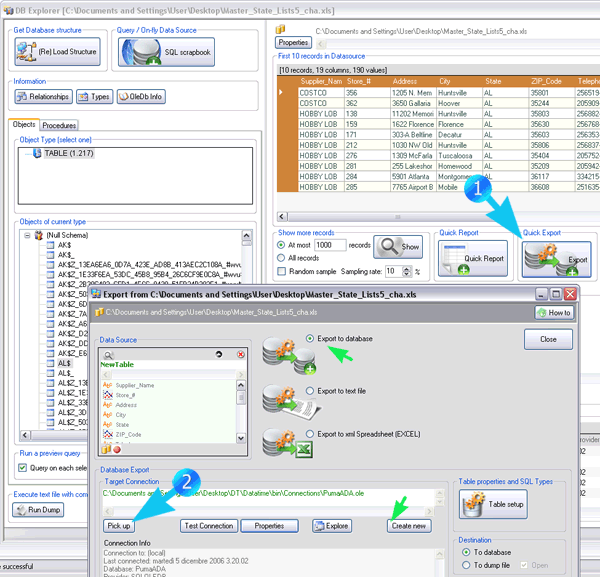
First of all, now it is necessary to indicate the target DBMS. To do that just cluck on "Pick Up". This will allow you to choose the target connection. Note that there are 2 main export mode
1. To database
2. To dump file
The second option does not actually move data, but simply prepares a text file which contains all the necessary commands (create table / insert) to do that. We suggest you to always try a dump first (possible using a few records) because this can help spot possible import errors. In general, it can be use it to prepare a dump file to be run later, after inspection and possible manual changes (to run the dump file click on "Run Dump" in the Database Explorer).
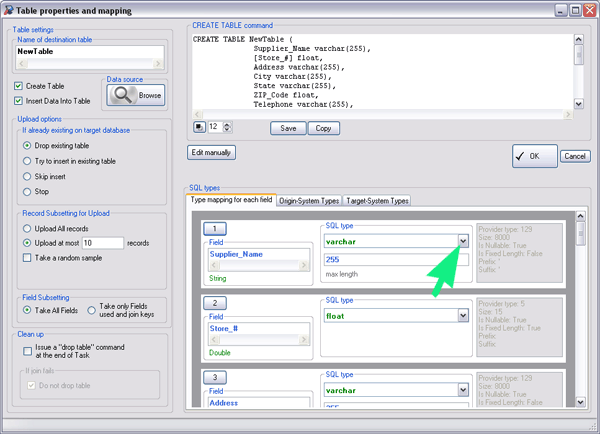
Before attempting the transfer, there are 2 main settings you shoud take a look at:
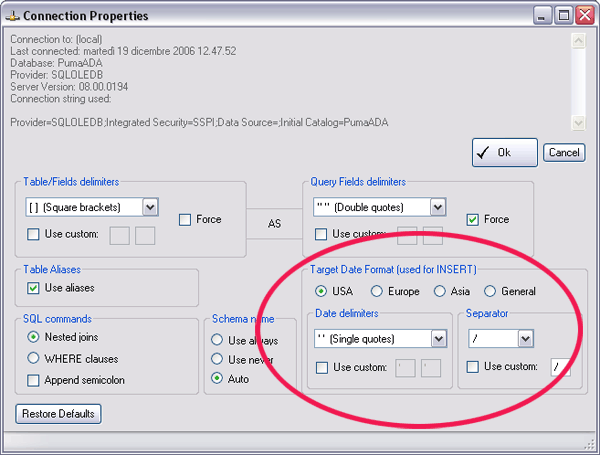
1. Connection settings (click on "Properties")
2. Table settings (click on Table Setup)
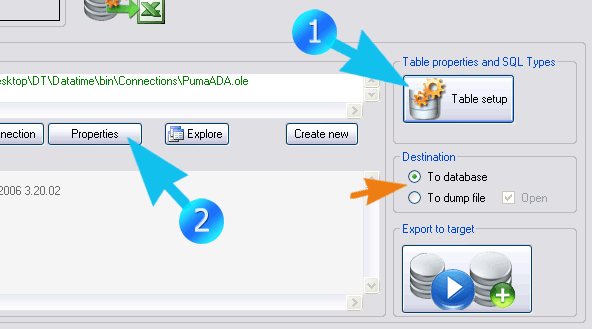
In the connection properties make sure that the right options are selected.
Also in the "Table properties" you may want to make some changes to the default settings. Here you can adjust data types for the destination field and the upload mode (create new table / append to existing table, etc.). You can also choose to move a random sample of the source dataset. This can be useful when the origin Data Source is very large.
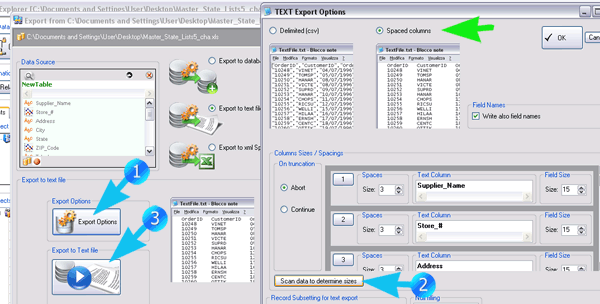
Export to Text file
Exporting to text file is quite straightforward. There are 2 main options
1. Delimited (csv)
2. Spaced column
In case you choose the Spaced column format, make sure you either indicate appropriate column widths ("field size"). If the source dataset is not very large you may click on "Scan data to determine sizes" to let the program determine automatically the column widths.
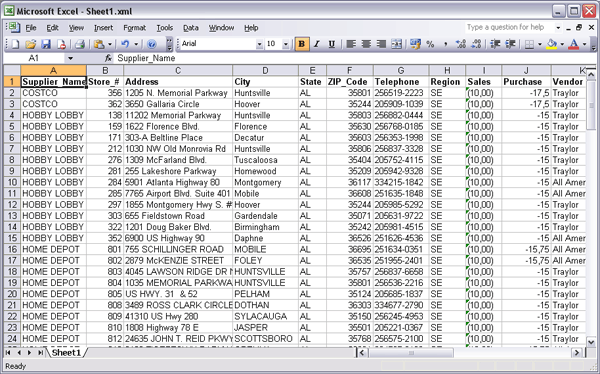
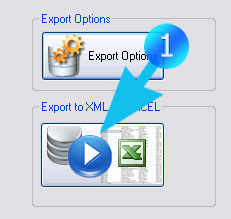
Export to Excel file
Exporting to Excel is even more immediate. Just Click on the Export button (in this case there is no need to determine column widths. Use that option only if you wish to change the visual appearance of the excel spreadsheet).
Note that the Excel export is not done via "Ole automation", which would be slow, but through a direct write to Excel xml format (office 2003+), which clearly makes the export process lightning fast.